A few things to have ready
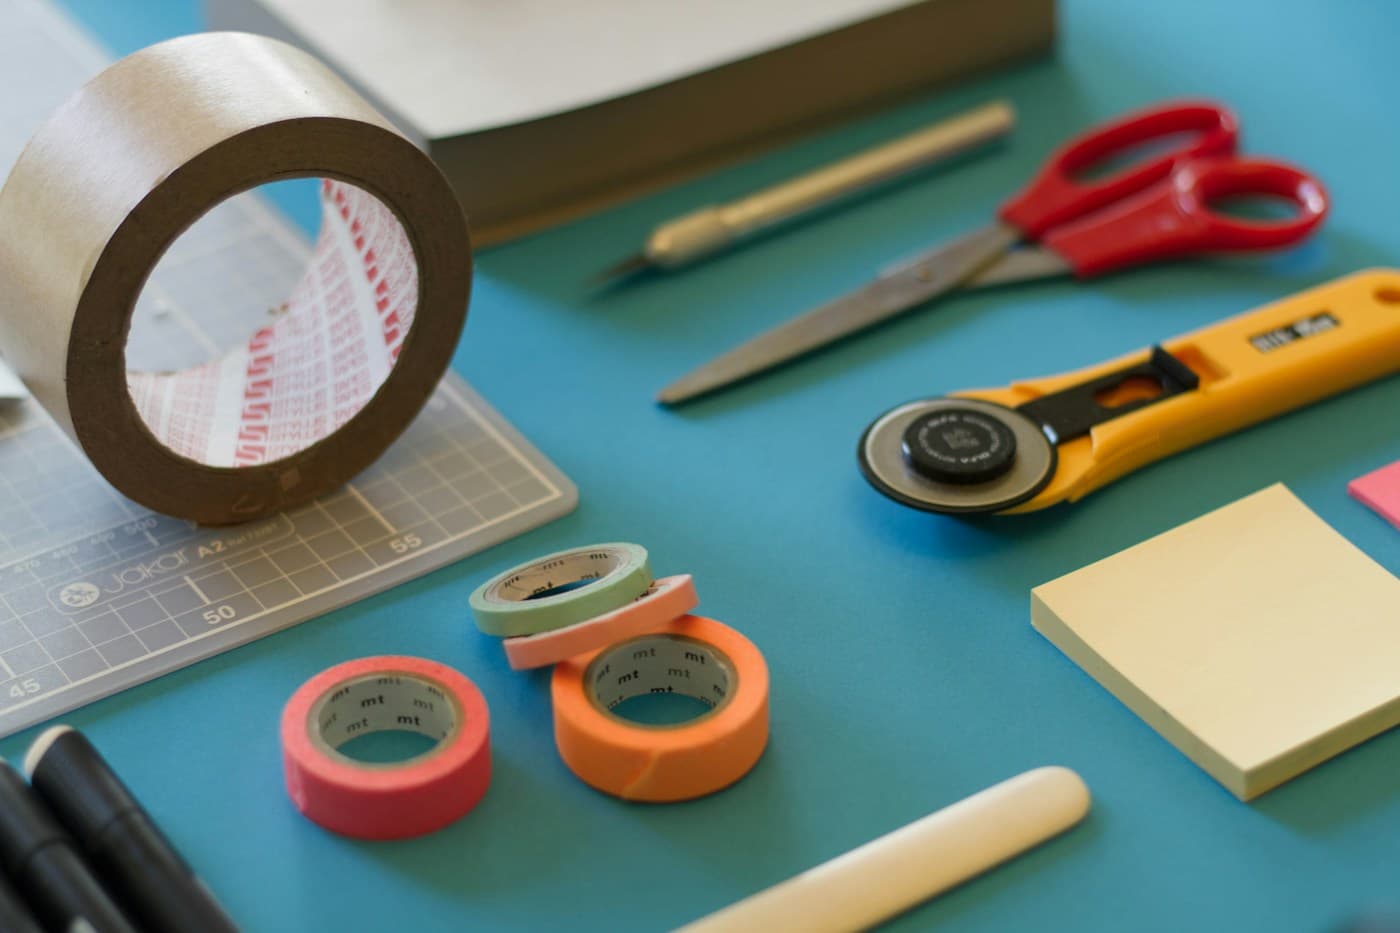
- Clean, known-source untreated wood
- Sandpaper
- Measuring tape
- Appropriate eye and dust protection
- Suitable wood finish
Choose the wood before choosing the project
Reclaimed wood can bring wonderful character, but its history matters. Use clean offcuts from a source you trust. Avoid wood with spills, unknown coatings, rot or pest damage. A pallet stamp alone does not tell you everything it has carried. If you cannot verify its history, choose fresh untreated craft wood instead. Keep these decorative projects away from food contact.
1–3. Start small: a tray, a frame or a sign
A decorative tray is a manageable first project: lay out a base, add low sides and pre-drill fixings to reduce splitting. For a frame, build around the exact dimensions of your print. A small painted sign can use a single smooth board. Sand edges carefully and choose finishes according to the product directions, including ventilation and curing time.
4–6. Bring order to a desk or shelf
Try a pencil holder made from an assembled wooden box, a shallow desktop organizer or a simple book display. Sketch your dimensions first and check the items you want it to hold. Keep early builds small and freestanding so you can learn how the material behaves without taking on a structural project.
7–8. Create a backdrop or picture ledge
A few aligned boards can make an attractive backdrop for lightweight art. A picture ledge requires more planning: its construction and wall fixings must suit the load and wall type. Ask for experienced help if you are unsure. Avoid mounting heavy projects above beds, cots or seating areas.
9–10. Make a planter cover or seasonal display
Build a decorative outer cover around a separate watertight plant pot, leaving access for drainage checks. Do not let damp soil sit against the wood. For a seasonal display, a low wooden box can hold fabric pumpkins, paper decorations or battery lights. Keep timber and decorations away from heat and open flames.
Give the finish time
Test your chosen finish on an offcut. Some wood looks better with a clear finish; other pieces benefit from a muted paint color. Let the product cure fully before placing the project in use. These ideas are starting points, not structural woodworking plans: choose a detailed plan and appropriate equipment for any load-bearing build.
Keep this little idea for later.
Save it here or add it to your own Pinterest board, ready for a free afternoon.
Pin this idea