A few things to have ready
- Black cardstock, approximately 200–250 gsm
- Gold paper or a gold craft marker
- Pencil, ruler, scissors and a dinner plate to trace
- Double-sided tape or craft glue
- Optional battery LED candles with secure battery compartments
A witchy display without ceiling hooks
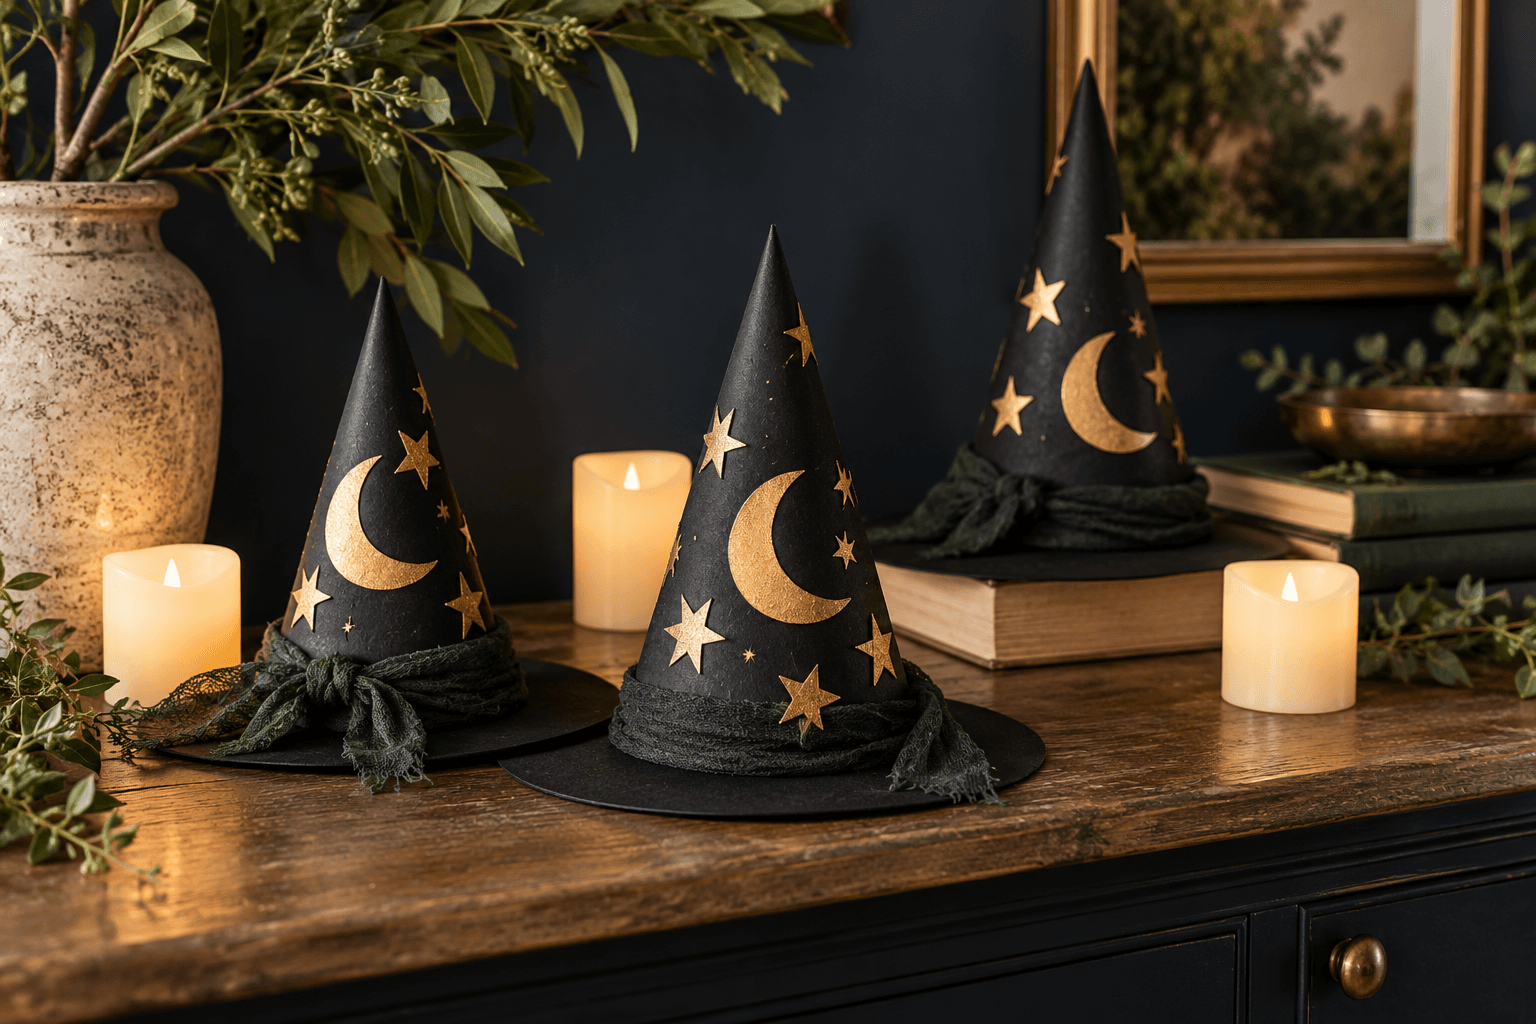
Witch-inspired styling and celestial accents appear in Michaels’ 2026 collections. Here, the atmosphere comes from three small paper hats on a tabletop, with separate LED candles alongside. Allow about an hour plus glue drying time. These are decorative miniatures, not wearable hats. Start with one cone to learn the shape before making a trio, and use recycled black card if it folds without cracking.
1. Roll a cone that stands upright
Trace a plate onto cardstock and cut out the circle. Cut a straight line from its edge to its center. Overlap the cut edges until the paper forms a tall cone, then secure the overlap with tape or glue. Set it on the table and trim the bottom carefully until it sits level. Avoid crushing the tip. A wider overlap makes a narrower cone; try the shape before fixing it permanently.
2. Add a brim with a hidden join
Stand the cone on another piece of card and trace around its base. Draw a second, larger circle around that mark, leaving roughly 3 cm (1¼ in) of brim. Cut out the larger circle. Inside the traced base, cut a smaller opening, leaving a 1 cm (⅜ in) ring. Snip that ring into tabs, fold the tabs upward and glue them inside the cone. Let it dry standing upright before moving it.
3. Decorate with moons and stars
Draw a crescent by overlapping two circles on gold paper, then cut out the remaining curved shape. Draw a few simple stars, cut them out and glue them to the cone. Keep decoration concentrated on the side facing the room. A narrow paper band around the base hides uneven joins. Make two more hats with slightly different cone heights so the display feels collected rather than rigid.
- Use a marker instead of tiny cutouts for an easier version.
- Creased card can become a practice cone.
- Do not cut intricate shapes with a craft knife around children.
4. Create the glow beside the paper
Arrange the hats on a stable shelf or console with small battery LED candles beside them. Do not put a real candle under, inside or near a paper hat. Choose LEDs with secured battery compartments and follow their instructions for spacing and operation. A navy or dark green backdrop adds depth, but plain cream walls work too. Leave everyday switches, sockets and walking space accessible.
How can I keep the hats from tipping?
Use a broad brim and keep the hats away from drafts. If necessary, attach the underside of each brim to a reusable tray with small loops of removable tape; test the tray finish first. Avoid weights loose inside the cones. Store the hats upright in a shallow box after Halloween, with tissue between them. If storage is tight, make one statement hat and use the remaining card for next year’s decorations.
Inspiration & sources
Our original project instructions interpret these published seasonal style references. The image is a styling concept, not a photograph of a tested project.
Explore more in DIY & Crafts and Home & Decor.
Keep this little idea for later.
Save it here or add it to your own Pinterest board, ready for a free afternoon.
Pin this idea