A few things to have ready
- 2–3 faux pumpkins, about 10–15 cm (4–6 in) wide
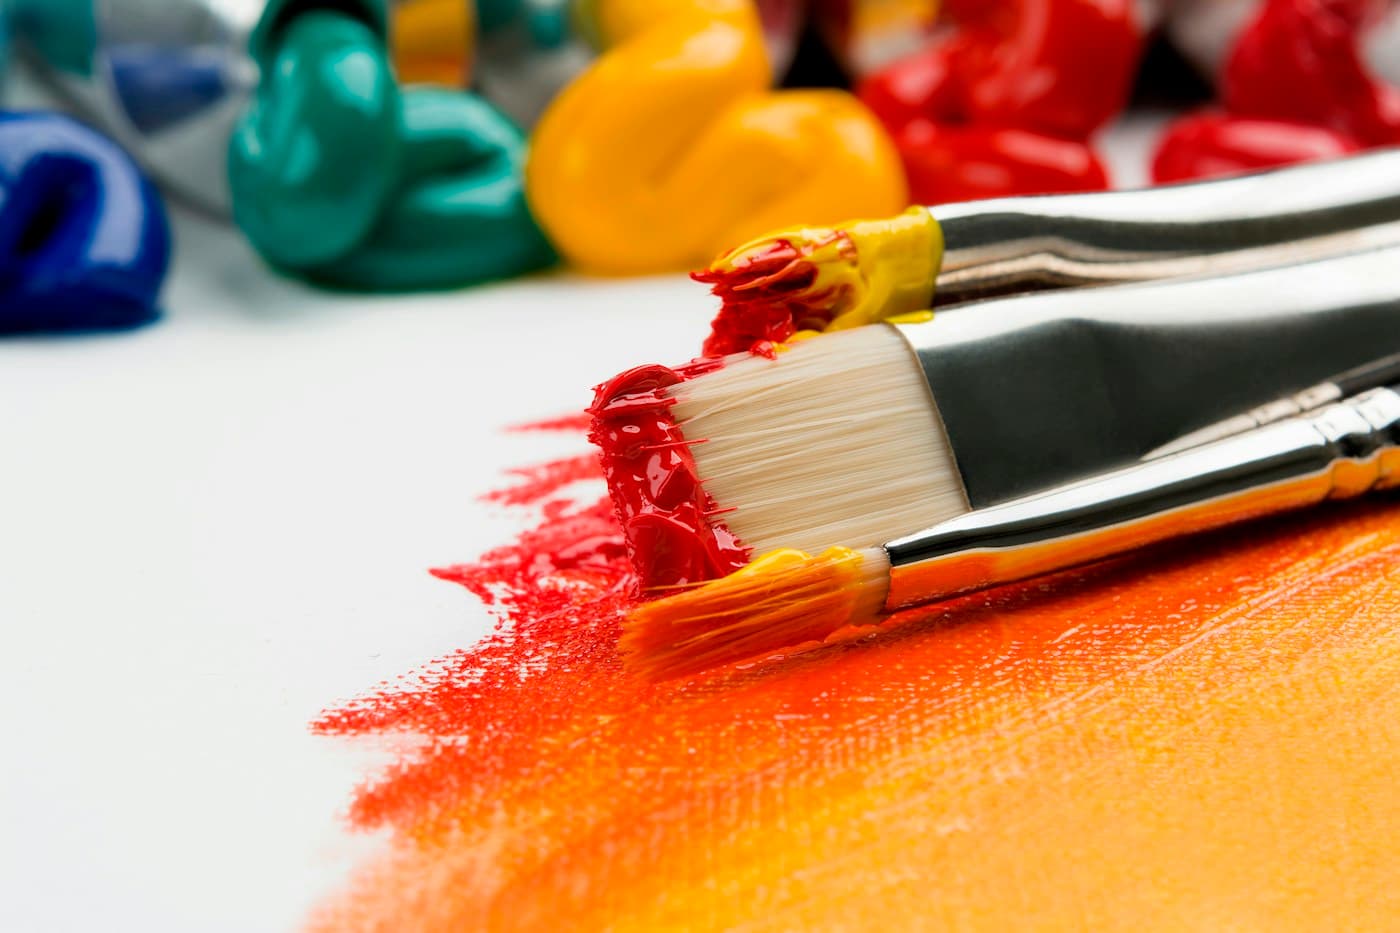
- Water-based craft paint suitable for your pumpkin surface: cream and terracotta
- Flat paintbrush, fine brush and pencil
- Scrap paper or a washable table covering
- Optional gingham ribbon and reusable tray
A small project with a nostalgic feel
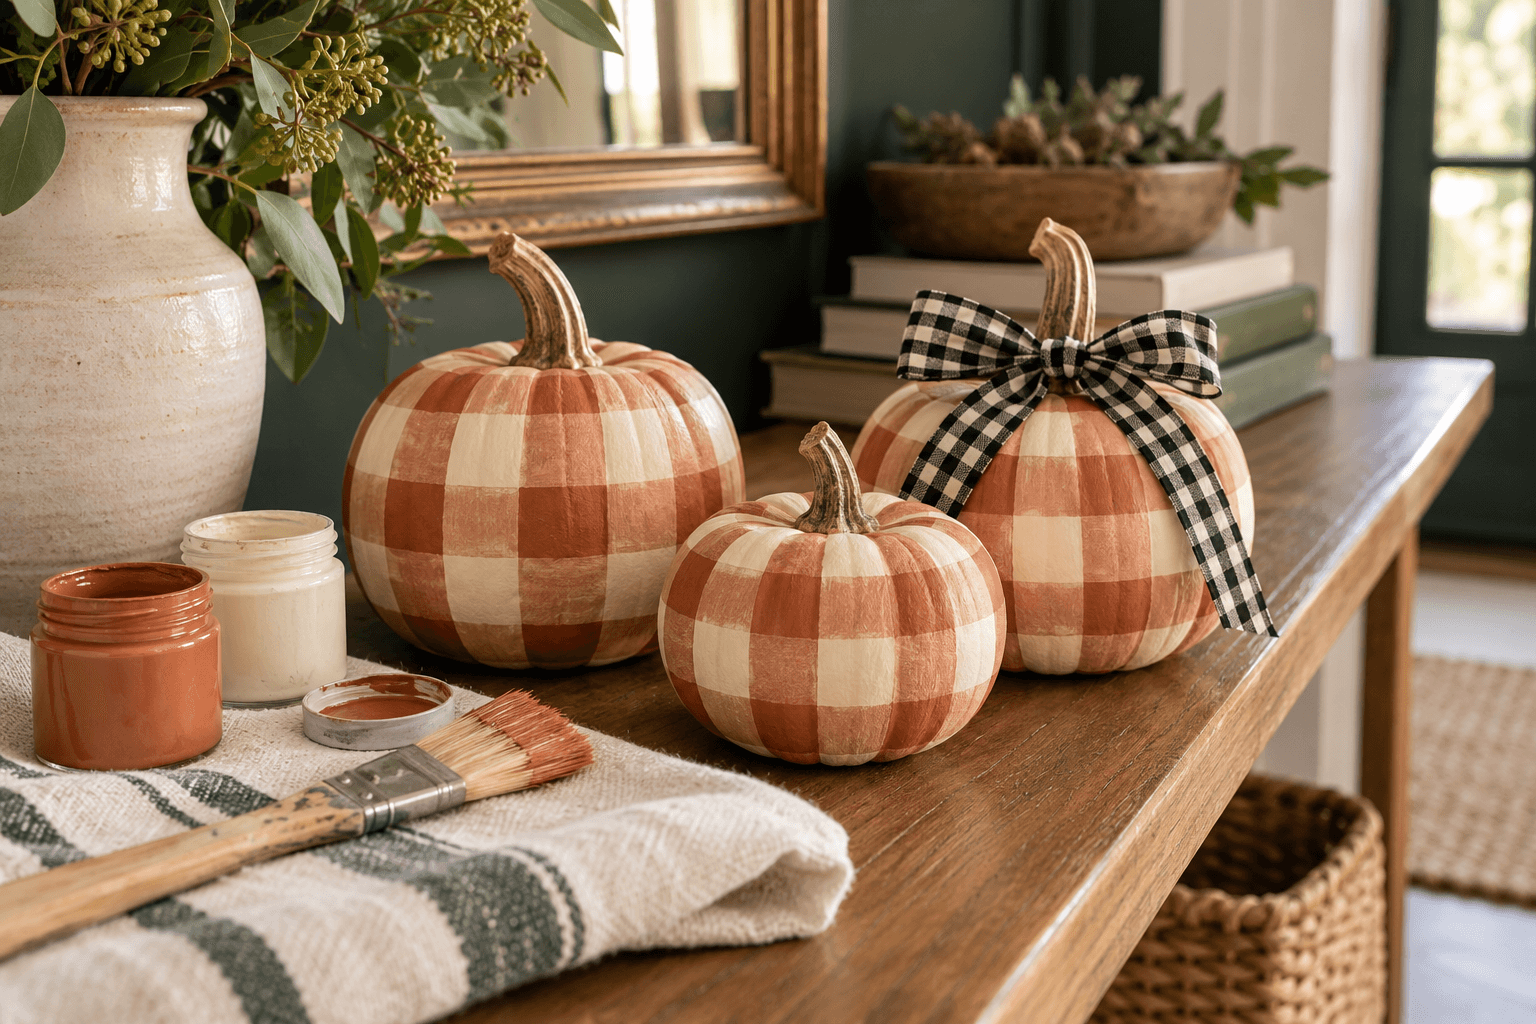
Classic checks and handmade details fit the nostalgic direction in Michaels’ 2026 Halloween collections. This is our own simple way to bring that mood home: three painted pumpkins rather than a room full of decorations. Allow about 60–90 minutes of hands-on time, plus the drying time on your paint label. Faux pumpkins let you pack the display away and use it next year. Start with one small pumpkin if painting feels new.
1. Prepare a surface the paint can grip
Wipe the pumpkins clean and let them dry. Test paint underneath first, especially on shiny plastic; choose a compatible primer if the paint beads or scratches off after curing. Cover the table, then brush on thin cream coats, letting each dry as directed. Hold a pumpkin by its base rather than its stem, which may be loosely attached. Do not rush into the pattern while the base coat still feels tacky.
2. Sketch a loose grid around the curves
Lightly mark vertical lines about 2 cm (¾ in) apart, following the pumpkin’s natural ribs where possible. Add horizontal rings at roughly the same spacing. The squares will change shape near the stem and base; that is part of painting a round object. Practise a four-by-four grid on scrap paper first. A slightly irregular check looks warmer than trying to force perfectly straight lines over every bump.
3. Build the gingham in two tones
Mix a pale terracotta using your colored paint and a little cream. Paint alternating vertical bands, then alternate horizontal bands in the same pale shade. Once dry, use the deeper terracotta at the intersections. Keep thin coats and turn the pumpkin gradually. If a square goes astray, let it dry and touch it up with cream instead of wiping wet paint across the surface.
- Use a brush narrower than your squares for better control.
- Leave one pumpkin plain to keep the grouping calm.
- Try sage and cream if orange clashes with your room.
4. Style a tiny Halloween entryway
After the paint has cured, tie a short ribbon around one stem without pulling on it. Arrange the pumpkins on a shallow tray, with the largest at the back. Leave a clear landing spot for keys and keep the display away from the door swing. This is indoor decor unless every material is explicitly rated for outdoor use. No candles are needed; a nearby lamp brings out the painted texture.
Can I use real pumpkins, and how do I store these?
You can decorate a clean, firm real pumpkin, but moisture and natural decay make the finish less predictable. Keep it somewhere dry and remove it when it softens; painted pumpkins are decorative, not food. For faux versions, remove ribbon, wrap each separately once fully cured and store without stacking heavy objects on top. Save a photo of the arrangement so next October’s setup takes minutes.
Inspiration & sources
Our original project instructions interpret these published seasonal style references. The image is a styling concept, not a photograph of a tested project.
Explore more in DIY & Crafts and Home & Decor.
Keep this little idea for later.
Save it here or add it to your own Pinterest board, ready for a free afternoon.
Pin this idea